For our next assignment, we were being told to create another aluminium skin based on other students 3d template. It has to be students from other disciplines, so in my case, I need to find students from other courses than architectural studies. It was actually quite hard, as almost half of the class are from architecture, so Russell managed to make it easier by allowing more students in one student's template. So here we are, with 5 of us from architectural studies, to exchange template with Nicklaus from architectural computing.
His object is a mouse (as expected from his major).
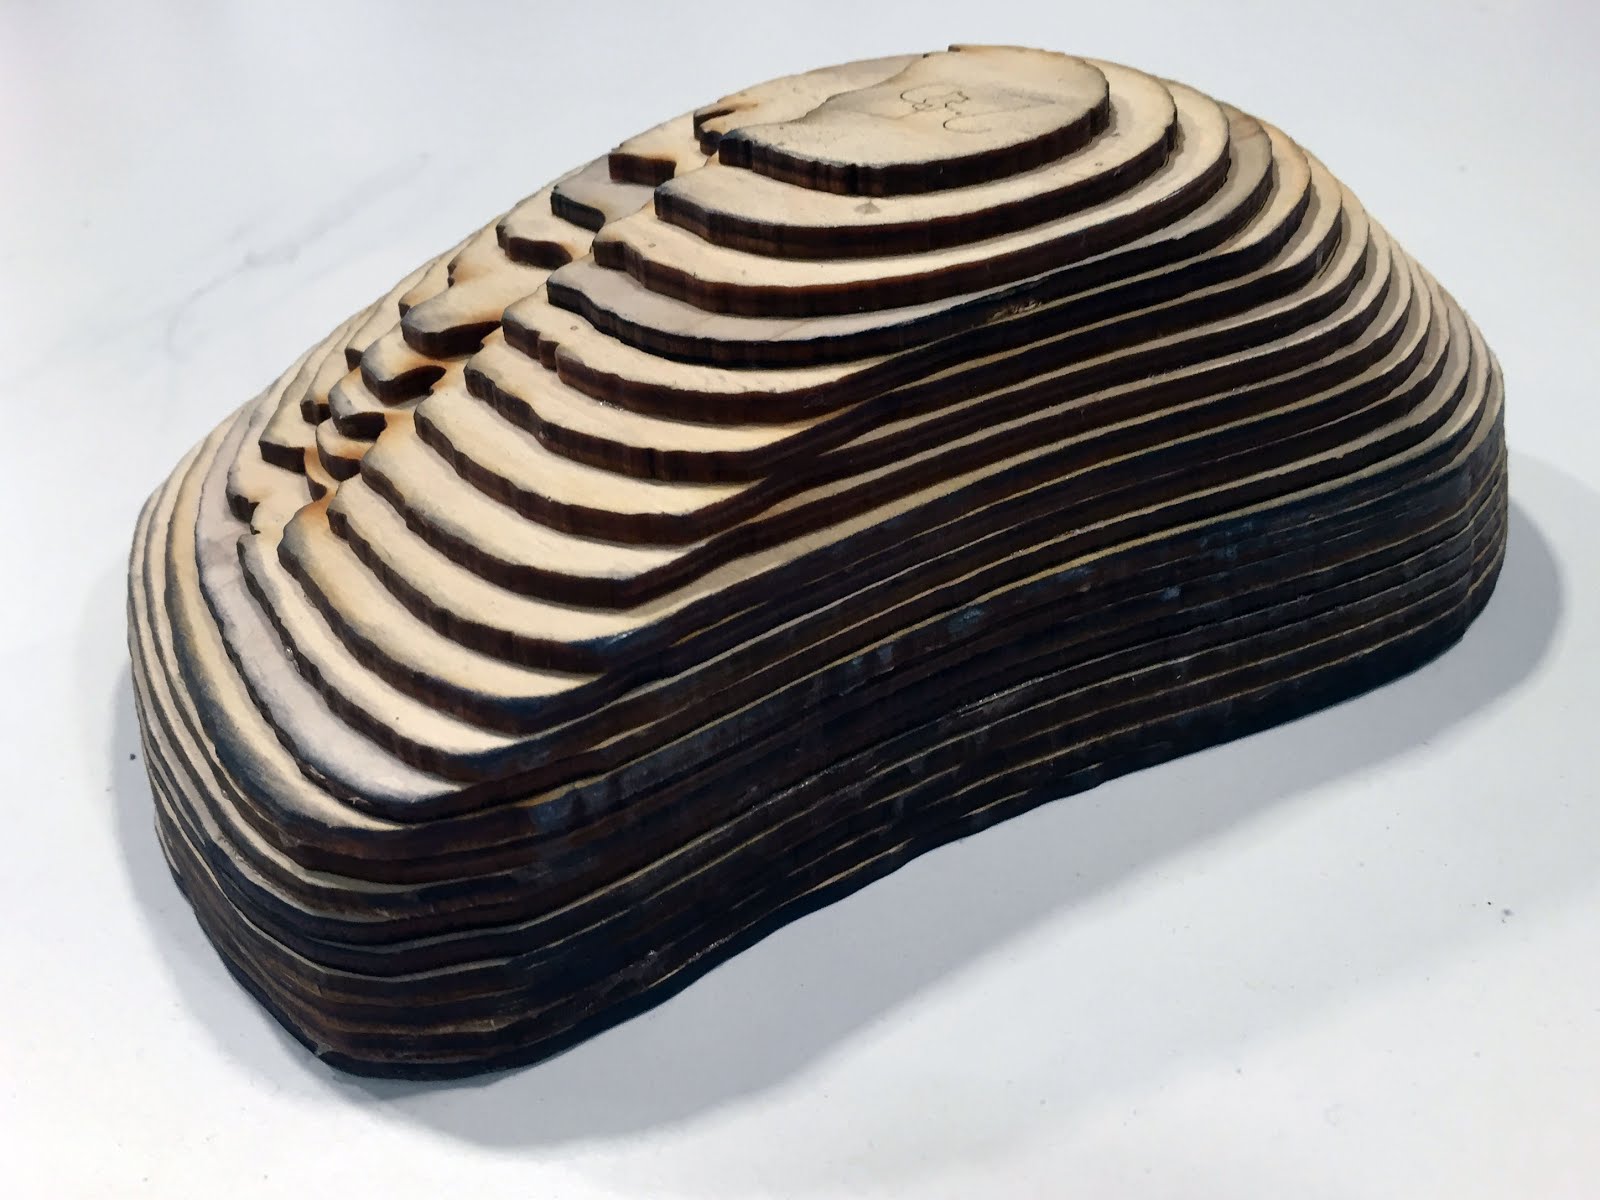
It was a surprise as well when Nick decided to use my object (orange) for his template. As there are 5 of us, we decided to make our own template by ourselves, as he also suggested to use stacking method instead of waffling to get a more accurate curve of the shape. With the same material as last assignment, plywood 3mm, I made the skeleton for the fundamental shape of the mouse.
As with the metal skin, it was supplied by Peter from the workshop so I am not so sure with the specifications nevertheless, it is a 1mm round metal sheet.
The process starts by transforming the metal sheet into a bowl shape, then pressing it into the skeleton to know where the left and right curves established on the shape. The metal sheet is quite soft so you can definitely shape it with a little bit of pressure onto the skin.
After getting the overall shape, you can start using english wheel to smoothen the middle part of the mouse. I can say that english wheel is the most important tool for this shape, as it really determines the smooth curve of the mouse.
 |
| Different size of roller that can be used (depending on our shape) |
 |
| Using english wheel to get smooth curve |
Start shaping each of the sides by carefully hammering it directly onto the skin. Be careful with the right skin as it is quite complex with 2 curves going to different directions. The left side is much easier as the curve is going into a single direction. Use english wheel afterwards to make the surface clean.
 |
| Left side - single direction (inward) |
 |
| Right side - two curve directions (inward and outward) |
 |
| First attempt with the finished basic shape |
In this stage, I feel quite accomplished with how the metal turning out. However, there are still some details that need some attention, such as the curve at the front and back, as it doesn't really fit perfectly with my skeleton. English wheel is the tool to help you reducing the gap between the skin and the template. Start using english wheel from where the curve begins to form so the skin can mimic the template perfectly.
Don't forget to cut some excess metal and clean the surface from marker and other debris with cleaning solution.
Final photo
 |
| Front view |
 |
| Back view |
 |
| Right view |
 |
| Comparison between right and left curves |


No comments:
Post a Comment